
The Hacker's Guide To Understanding Linux
There’s always been a running joke between people who use Windows as their daily driver OS and those who use Linux:
- Windows holds your hand a lot of the time, and there are a lot of protections to stop you running with scissors.
- Linux will happily let you run with scissors, enthusiastically gives you them and pulls out its cellphone to film the aftermath.
Joking aside though, the level of control that Linux lets you have over your filesystem, plus the wide array of free and open-source software/tooling available to those brave enough makes exploring Linux both exciting and intimidating to newcomers.
The Linux filesystem does not look like the Windows setup 99% of people are familiar with growing up, with unfamilar directory names like /opt/, /var/, /bin/, and /etc/ having no obvious analog to the unfamiliar.
Don’t even get me started on the knifefight that’ll occur if you’re foolish enough to ask “Which distribution should I try first?” on an online forum…
This guide is for the Linux newbie but also the security professional that needs a refresher on the internals of one of the world’s most powerful and widespread operating systems. Any penetration tester will be interacting with Linux systems on near every engagement, as it powers 90% of the world’s servers.
Suffice to say, the knowledge is very useful!
In this article, we’re gonna take a tour of:
- What a distro(distribution) is,
- What the main distributions are,
- The main directories in the Linux Filesystem,
- A refresher on Linux file permissions,
- A tour of the Bash shell
- Interesting places to look on engagements.
What is Linux and what’s a distro?
The story of Linux really starts with an earlier operating system called Unix.
![]()
Unix was originally written by a group of researchers at AT&T Bell Labs back in the 1960s, involving both Dennis Ritchie and Brian Kernighan. Fun fact, these two were big parts of the development of my favorite language, C!
The idea was that it was a convenient platform for programmers to develop and run software on, rather than being expressly aimed at consumer/non-programmers as an audience. AT&T licensed Unix out in the 1970s, leading to a wide variety of paid and academic variants of the operating system becoming available.
Richard Stallman, a programmer then at MIT’s Artificial Intelligence Lab, had a goal of creating an entirely free operating systems. He felt users should be able to study the source code of the software they put to use on their devices, and in addition modify and share that software.
Stallman wrote a collection of free software/software components called GNU, which stands for “GNU’s Not Unix” and was launched/announced in 1983. The core components that you’ll likely bump into are:
- The GNU Compiler Collection, also known as gcc,
- The GNU C Library, also known as glibc,
- The GNU Core Utilities (coreutils), which gives us a lot of our commands Linux users are familiar with like ls or chmod,
- The GNU Debugger, also known as gdb,
- The GNU Binary Utilities, also known as binutils, used a lot with assembly and executable code,
- The GNU Bash Shell, which is the primary command shell and interpreter for Linux, as well as a programming language in its own right.
One thing GNU was missing to achieve its goal of being a one-stop free and open-source OS though, was an OS kernel to handle hardware/software interactions and keep all the lights blinking away.
Enter one Linus Torvalds, a Finnish-American software engineer who developed the Linux kernel in 1991. The goal was to be a free replacement for Unix, and very quickly the Linux kernel became the OS kernel of choice for the GNU operating system that the GNU project was working on.
Put the Linux kernel and the GNU components together and you are off to the races in terms of being able to run a computer from top-to-bottom and since the 1990s, GNU/Linux have formed the basis of many free and open-source operating systems.
An operating system using Linux as its OS kernel is called a Linux distribution or distro for short, and there are lots of them to choose from. The main ones you’re going to want to be familiar with are:

- Debian-based Linux distros, like Ubuntu or Linux Mint (my distro of choice, personally). These are friendly to new Linux users and very popular for both home computing devices and servers. Easy to learn, easy to maintain and well documented.

- Fedora-based Linux distros, like Red Hat Enterprise Linux (RHEL) or CentOS. Very popular for large enterprise deployments, and enterprise support contracts that come along with it too if you’re using the paid RHEL version. CentOS and Rocky Linux are free rebuilds.

- Kali Linux and ParrotOS - both Debian-based, and based entirely around supplying and supporting tools for security work such as penetration testing. Near-mandatory for most security professionals, awful choice for your daily driver OS. Deploy it to a VM instead, trust me.
- Alpine Linux, a small and lightweight distribution of Linux popular for containers. Fun fact, one of the few popular distros not to use glibc or the coreutils of GNU!
- Arch Linux, a hardcore distro of Linux where the user is expected to configure all of their own utilities. There has never been a “surprise Arch user”, as people who use it are biologically incapable of keeping that information silent. I think it’s something that comes with the package manager?

- Gentoo Linux, an interesting Linux distro where the code is compiled locally by the user to allow for machine-specific customization and some pretty awesome speed improvements. Definitely don’t start here!
Now you know the main distributions (and memes) that comprise the Linux ecosystem. Have fun agonizing over which one to use and relentlessly gatekeeping - just as Linus Torvalds intended (probably)?
The Linux Desktop Environment
You don’t technically need a desktop at all to use Linux, you can absolutely just interact with your computer entirely through the command line interface (CLI).
However, almost every Linux user will end up using one of a few major Linux desktop environents to give themselves a graphical user interface (GUI) to interact with their computer as well. If you’re a beginner with Linux, I wouldn’t worry too much about which of these you have, this is more for awareness and later on down the line when you want to customize!
GNOME
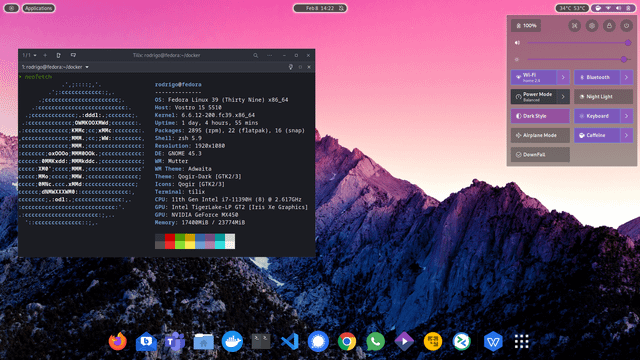
GNOME comes as default on Ubuntu Linux. It’s clean, modern, not too exciting - gets the job done and requires very little in the way of adjusting to use it out the box.
KDE Plasma

KDE Plasma is very, very customizable and can be made to look like Windows or MacOS (check out Elementary OS if you’re interested in a MacOS-style setup). Probably the most “slick” looking of the four we’re looking at.
XFCE
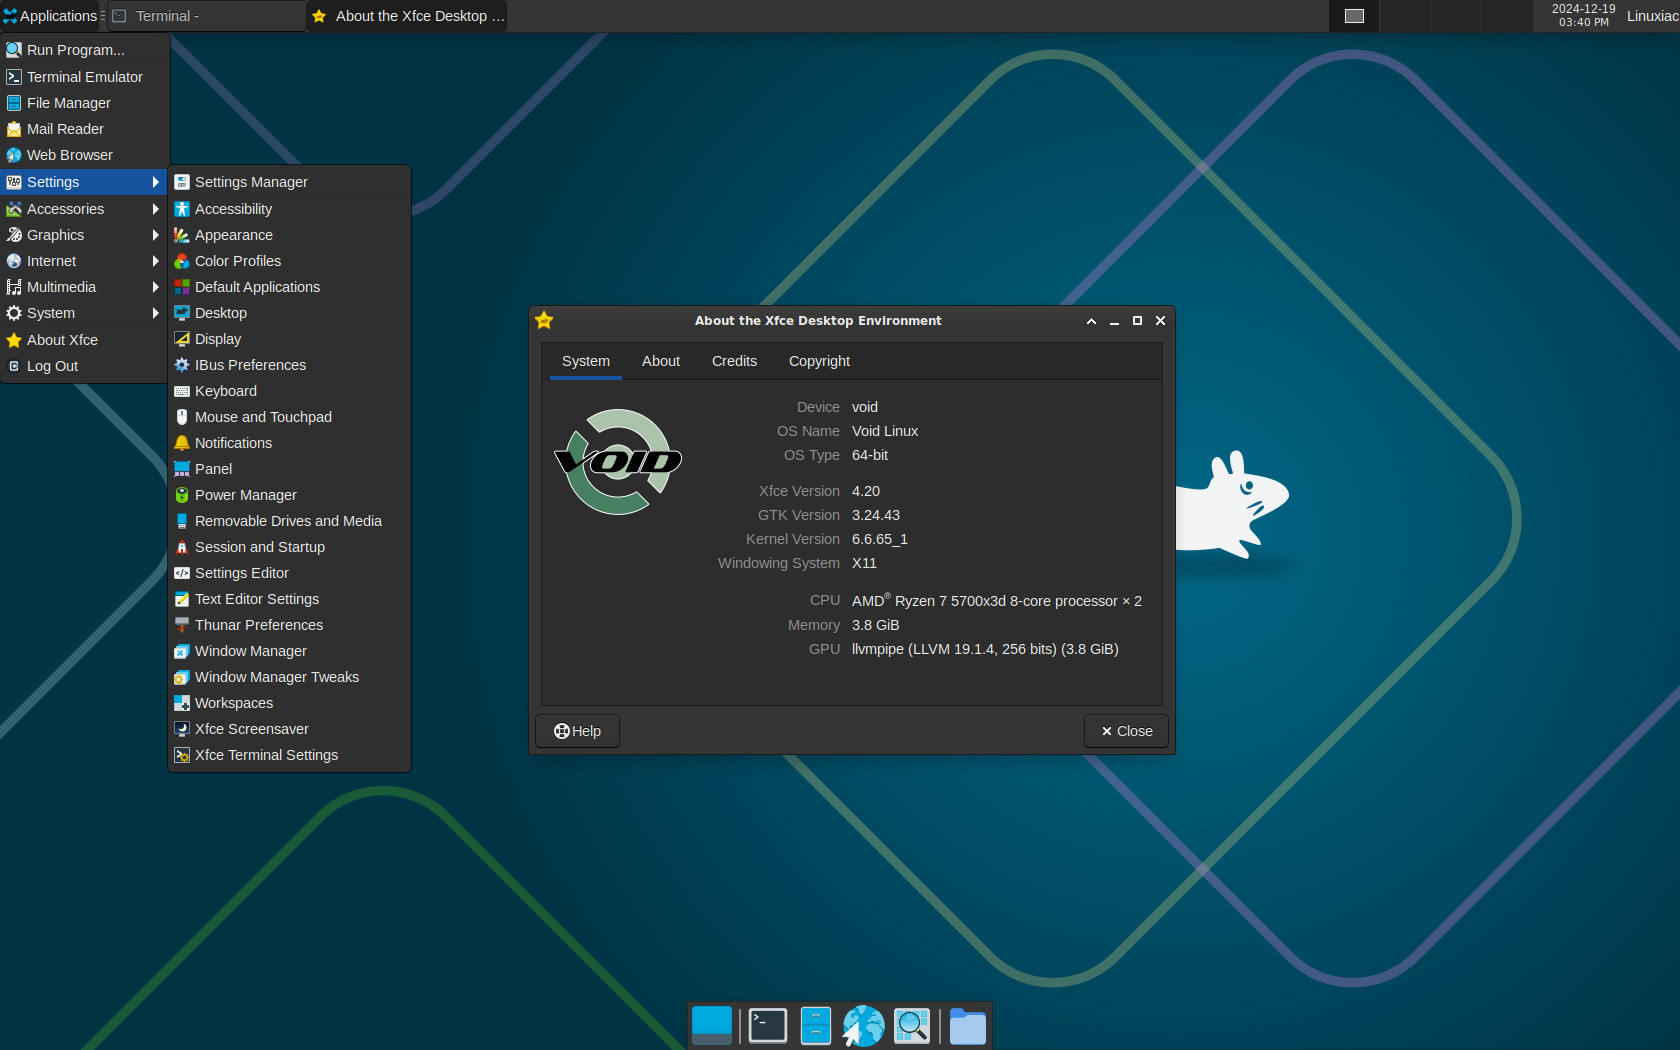
XFCE is much more lightweight, it’s fast, and it works great on older hardware. If you’re trying to bring a 15-year old Thinkpad back to life to bash around on (pun intended) - it’s a great choice.
i3 WM (Window Manager)
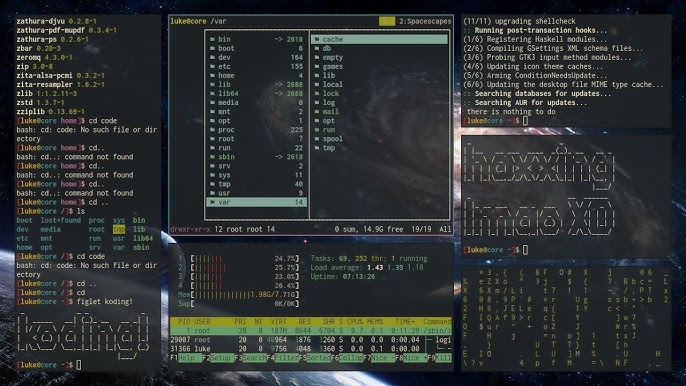
The choice for many an Arch user and lover of le hacker aesthetique. This is the one you choose if you wanna look like you’re in the Matrix, even though you’re realistically only using one terminal window at a time.
The Linux Filesystem and Core Directories
/
├── bin/        → Basic commands (ls, cat, grep, cp)
├── sbin/       → System binaries (mount, reboot, fdisk)
├── etc/        → Configuration files (passwd, ssh/, services)
├── home/       → User directories (/home/matt, /home/alice)
│   ├── matt/
│   └── alice/
├── root/       → The root user’s home
├── var/        → Variable data (logs, mail, spool, caches)
│   └── log/    → System logs
├── tmp/        → Temporary files (world-writable, volatile)
├── opt/        → Optional / third-party software
├── usr/        → User applications & libraries
│   ├── bin/    → User binaries
│   ├── lib/    → Libraries
│   └── share/  → Shared resources
├── dev/        → Device files (/dev/sda, /dev/null)
├── proc/       → Virtual filesystem (process & kernel info)
└── mnt/        → Mounted filesystems (USB, network drives)
The above diagram is more for reference than anything else - and is not totally exhaustive. There are more directories than this, but this is your “99% of the time” set.
Let’s take it from the top!
/bin/
Short for “binaries”, this directory holds all your basic commands that you’ll be using every time you boot Linux up (ls, chmod, etc.)
/sbin/
Short for “system binaries”, this directory holds core system utilities like iptables, fdisk, and reboot. One for the sysadmins and mess around with it at your own risk!
/etc/
This is where all your configuration files live - the /passwd for users, /shadow for passwords, /ssh for SSH.
/home/
This is every user’s “living quarters” within the Linux OS. Their personal files, downloads - anything they have and use is likely in here.
/var/
This is the “journal” - open up /var/log/ and you’ll find access logs here, auth.log specifically being kinda like the “CCTV tapes” of the Linux OS. /var/www/ is also a common directory you’ll find yourself in if you’ve established a web shell on a website!
/tmp/
This is always an interesting look when you’re doing a little “unseen system administration”. /tmp/ is a volatile, often world-writable directory for temporary files. Things are often a little looser here in terms of permissions (which we’ll get into in a bit).
/opt/
If an app (often third-party) doesn’t fit inside one of the standard “rooms” within Linux, it ends up here. Stands for “optional”.
/usr/
User binaries, used for hosting all the user-facing software that isn’t strictly necessary to boot up the computer and OS, but that you’ll almost certainly be using once it has booted up.
/dev/
Devices (your USBs, drives, disks etc.) all show up here as files. If it’s hardware, there’s probably a handle in here for it.
/proc/
Shows live process and kernel information. Tons of interesting stuff in here, but mess with it at your own risk!
/mnt/
A temporary mount point for external file systems. It’s the “doorway” to other file systems and likely where a flash drive you plug in will end up being “mounted” so you can access the files within from your system.
”Don’t chmod 777 On Me” - An Intro to Linux File Permissions
You’ll often hear the term “On Linux, everything is a file”.
It’s true! Everything in the filesystem more or less gets treated like one, and Linux uses a pretty simple system to work out who gets to touch what.
Run ls -la in a directory with files in it and you’ll see something like my example below from the C&D&D folder on my own computer:
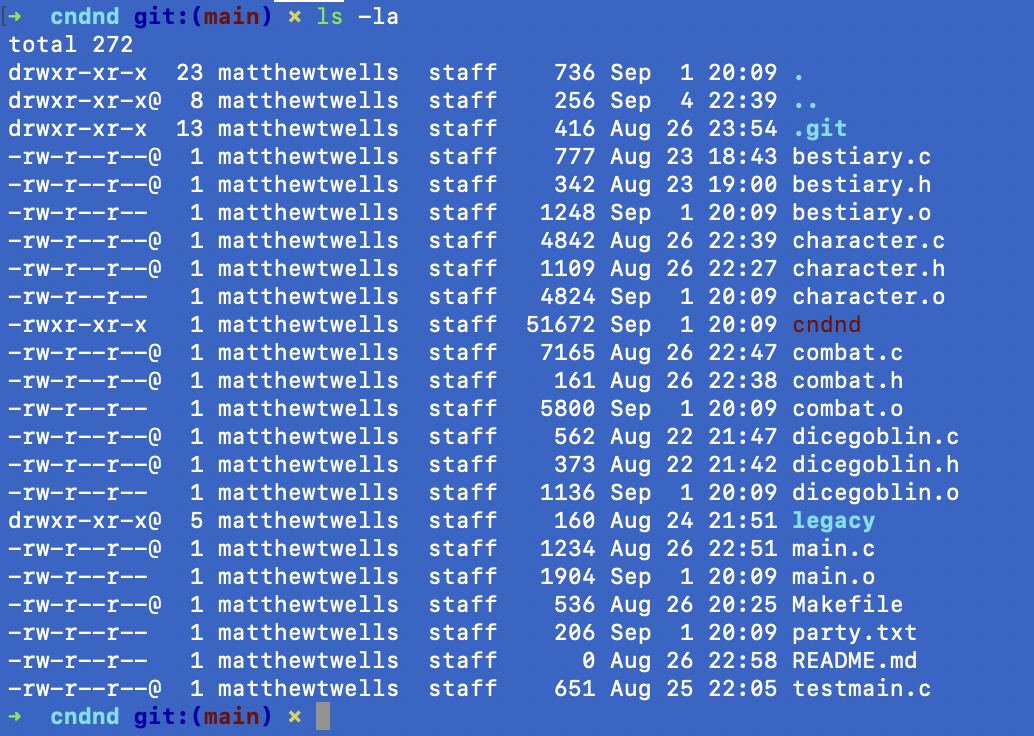
Let’s take a line from this screenshot and break it down:
-rw-r--r--@ 1 matthewtwells staff 1248 Sep 1 20:09 bestiary.o- That first - tells us what we’re looking at is a regular file, you might also see d for “directory” pretty often, too.
- The next nine characters should be looked at as three triplets (sets of three).
- The first three characters refer to what the owner of the file (the person who made it) can do. The options are r (read), w (write), and x (execute). So here, the owner can read, write, but can’t execute the file.
- The next three characters refer to what groups of users can do with the file. Here, we can see groups can only read the file, they can’t write changes or execute it.
- The last three characters before the @ symbol are for everyone else. Here, we can see that everyone else can also only read the file, and can’t write to or execute it.
- That @ is just a MacOS thing because I’m using a Macbook Pro for the example screenshot!
- The 1 is how many hard links point to this file. Because it’s 1, we know this file only exists here.
- The next part is the owner of the file - in this case, that’d be me!
- The next part is the group assigned to the file - “staff” appears to be a system default because I never touched the permissions for this file in particular.
- The 1248 is the size of the file in bytes. Easy enough!
- Sep 01 20:09 is the timestamp at which this file was last modified.
- Last but not least, we have the name of the file we’re looking at, in this case bestiary.o.
TL;DR? - It’s a regular file, it’s mine and I can read and write to it. Everyone else can just read it. No-one can execute it.
That Octal Notation, tho
Sometimes, you don’t wanna write out the rw-r—r— every time - isn’t there something quicker?
There actually is - it’s called octal notation! To use it, just take each of those three triplets and add together the following numbers:
- read permissions are 4,
- write permissions are 2,
- execute permissions are 1.
So our example above was rw-r—r—. Let’s go through the exercise together:
- Owner - r (4) + w (2) = 6
- Group - r (4) = 4
- Everyone Else - r (4) = 4.
So the file permissions for bestiary.o could be written instead as 644.
You can use the chmod command with octal notation or normal notation to change file permissions.
So if I typed in chmod 777 bestiary.o, I would be giving full read,write and execute permissions to everyone for that file.
Be careful using chmod willy-nilly - it’s dangerous territory and rich, fertile ground for the eagle-eyed hacker!
It’s All A Shell Game: A Quick Tour of Bash
So far, we’ve been talking about the structure of Linux - where things live, where they can be accessed and who can access them.
But how do we “walk” through Linux, how do we do things in it?
We use what’s called a command shell to interact with our system, and the most common type of shell that gets built in with most distros of Linux is called the Bash Shell, short for Bourne Again Shell.
- You type your command into the shell, which you should automatically enter when you open a terminal prompt.
- The shell passes your command to the operating system, often using something called a syscall (system call) to do so.
- The shell passes the results back to you!
Type in ls (short for list) into Bash, and it’ll return with a list of files in the directory you’re in. Type in cd (short for change directory) into Bash, and the shell will change the directory you’re in to the one you either specify, or up a directory level if you use ..
How do you know what you’re able to do in the Bash shell, then?
Many Linux users just naturally pick up a muscle memory for really common tasks over thousands of times entering them, but there’s a super handy cheat sheet for Bash here on GitHub if you’re interested in trying some commands out on your own!
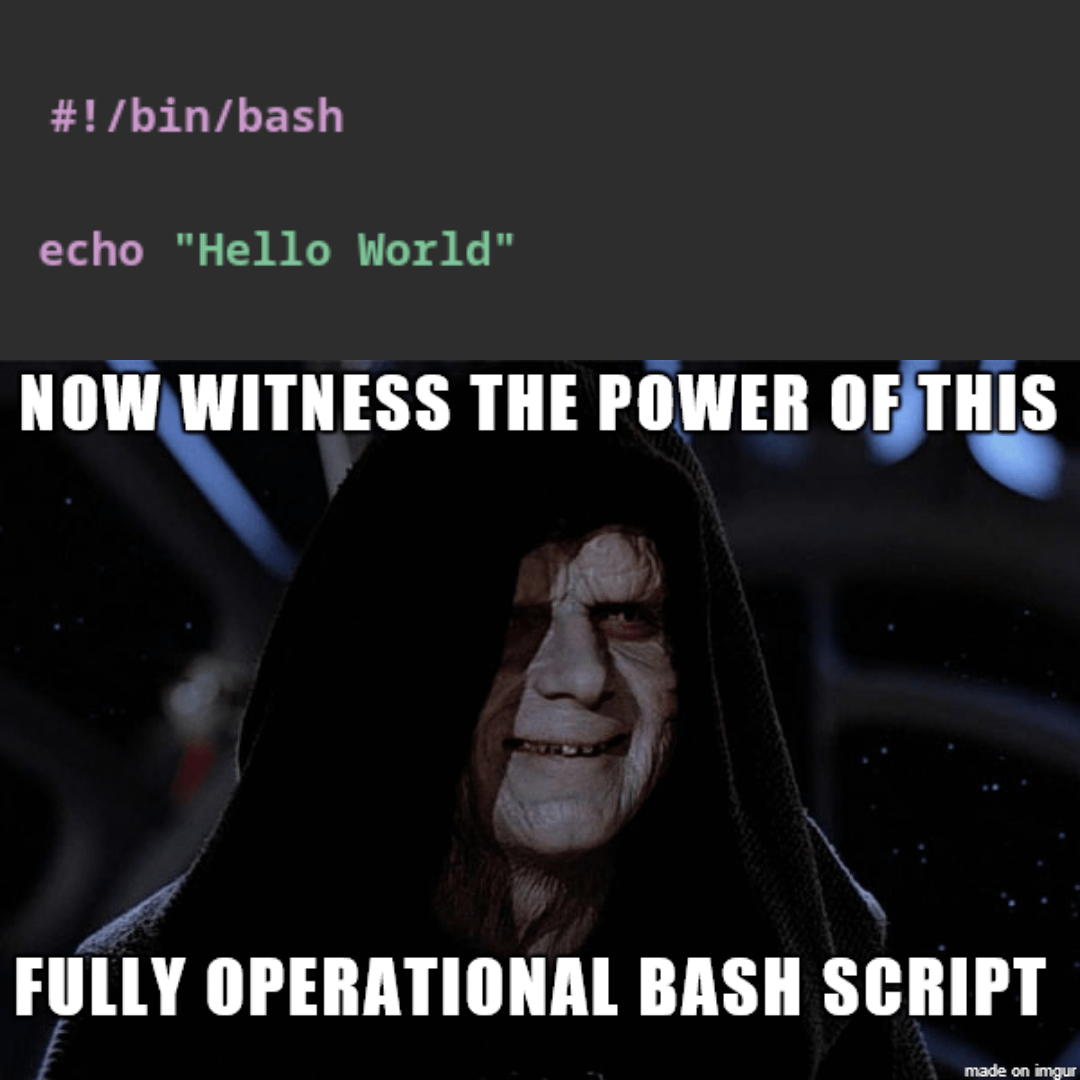
Basically, Bash is the “wizard’s spellbook” for interacting with most Linux distros!
Speaking of wizards…
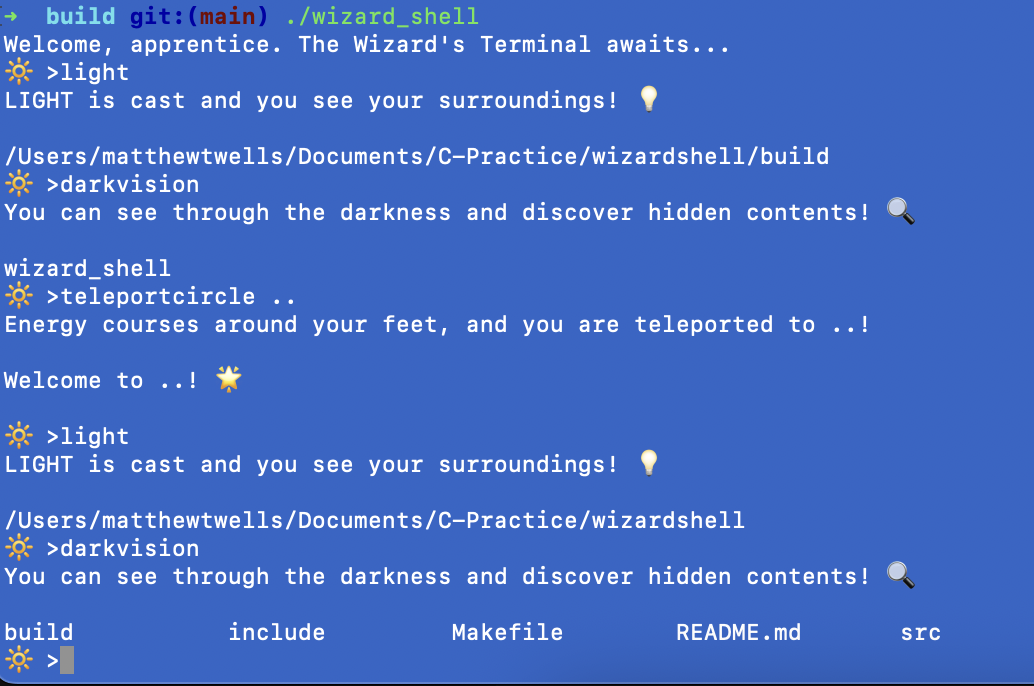
When I was learning C, I wanted to really understanD how things worked behind the scenes when it came to shells.
So naturally, I tried to write my own shell which reframed Bash commands as spells from Dungeons & Dragons.
- ls became darkvision
- rm (remove) became fireball
- cd (change directory) became teleportcircle
It sounds goofy, but doing this meant that I had to actually understand the process that whirrs underneath the surface when you use the Bash shell.
If you’re interested, check it out here: Wizard’s Shell
Every pentest, every Capture The Flag, every time you want to use your own computer via the CLI — you’ll be dropped into a shell sooner or later.
Bash isn’t the only shell out there, though. You’ll also see zsh (especially on Macs) and Windows users might even dabble with PowerShell, but Bash is the one you’ll use the most often as a Linux user.
Wrapping Up: Playing Around & Interesting Places To Look
Linux can feel arcane and difficult at first, especially if you’ve never used anything other than a Windows PC since your youngest days at a keyboard.
But hopefully, this guide has made it seem less scary:
- Distros are what give you your flexibility, from the out-of-the-box experience Linux Mint can give you, to the hardcore customizability of Arch Linux.
- The filesystem is laid out and operates in a way that honestly makes a lot of logical sense, once you understand the rules!
- Permissions put granular control in your hands over who can do what with the files on your computer.
- The shell is your sword or your magical staff that you use to make things actually happen on your Linux OS.
If you’re just starting out, don’t panic if you mistype a command, or nuke a VM by accident. It literally does not matter - breaking stuff isn’t just half the fun, it’s the entire point!.
Learning Linux should be a fun, enjoyable and gratifying experience - but make sure to give yourself permission to be “bad” at first. It’s the first step to getting halfway good!
And if you want to keep sharpening the blade, I built out a Linux Dojo with hands-on practice drills. Bring your curiosity, your command line, and maybe a health potion or two?
PS: Interesting Places To Look Once You’re Comfortable
Once you’ve got your bearings in Linux, there are a handful of directories and files that are gold mines during an engagement or a CTF. If you’re in a box, these should be on your radar:
- /etc/passwd & /etc/shadow → User accounts and password hashes. Shadow is usually root-only, but if you can read it, you’re in business.
- /etc/hosts → Local hostname-to-IP mappings. Great for finding internal targets.
- /etc/ssh/ → SSH configs and keys. Misconfigurations or private keys can open doors.
- ~/.ssh/ → User-specific SSH keys and known_hosts files.
- /var/log/ → Log files. Useful for spotting what services are running, and sometimes sensitive data sneaks in.
- /home/ → User directories. You’d be amazed how often people stash credentials in plain text.
- /tmp/ & /var/tmp/ → World-writable directories. Attackers and sysadmins both love these for staging.
- /opt/ → Third-party apps live here. Often overlooked, and sometimes badly secured.
- /proc/ → Live system info. Great for recon — running processes, network connections, even command-line arguments.
When in doubt, look for misconfigurations, leftover backups (.bak, .old), or anything a dev left behind thinking “no one will find this.” Literally no-one bats 1.000 when configuring a system, and Linux is no different - look for places where it’s easy to screw up!